Accessing Keyvault from Windows 11 on-premise machines

One interesting challenge that a recent request via Discord brought was how to handle secrets for automated/unattended processes on onpremise machines.
My initial interest in the Powershell Secret Management module slowly waned as I realized that it’s not really meant for that purpose (though it can be made with a command) so I started wondering if it would be possible to actually have that working through Azure Keyvault in an easy manner.
Since I had to deploy the infra to test this I also took the opportunity to test the latest version (at the time of writing) of Windows 11 22h2 for additional complexity!
For simplicity this current Blog will cover manual deployment through the Azure Portal, but all of this can be done through AzCLI, Azure Powershell or ARM/Bicep.
Preparing the ground
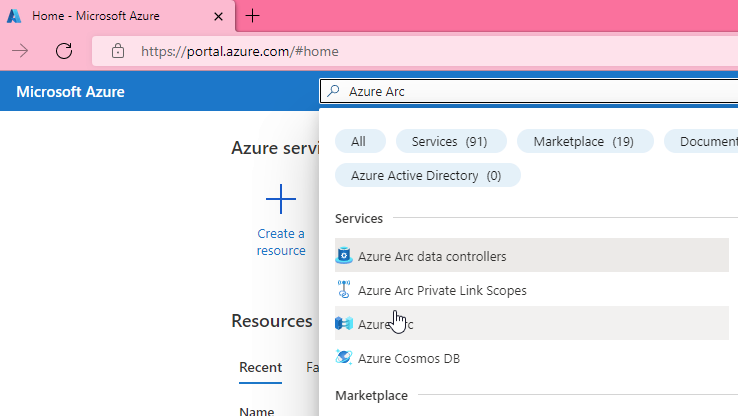
Search for Azure Arc in the Portal and open it:
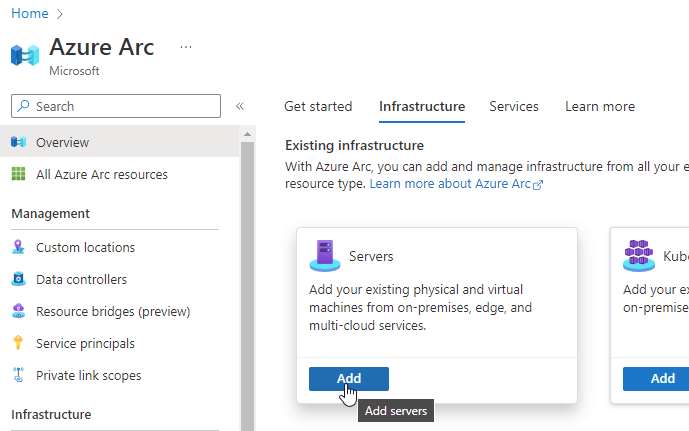
Go to the Infrastructure tab and then click add under “Servers”:
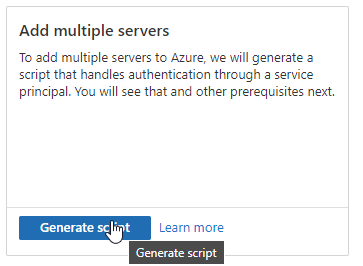
Click on Generate script under “Add multiple servers”:
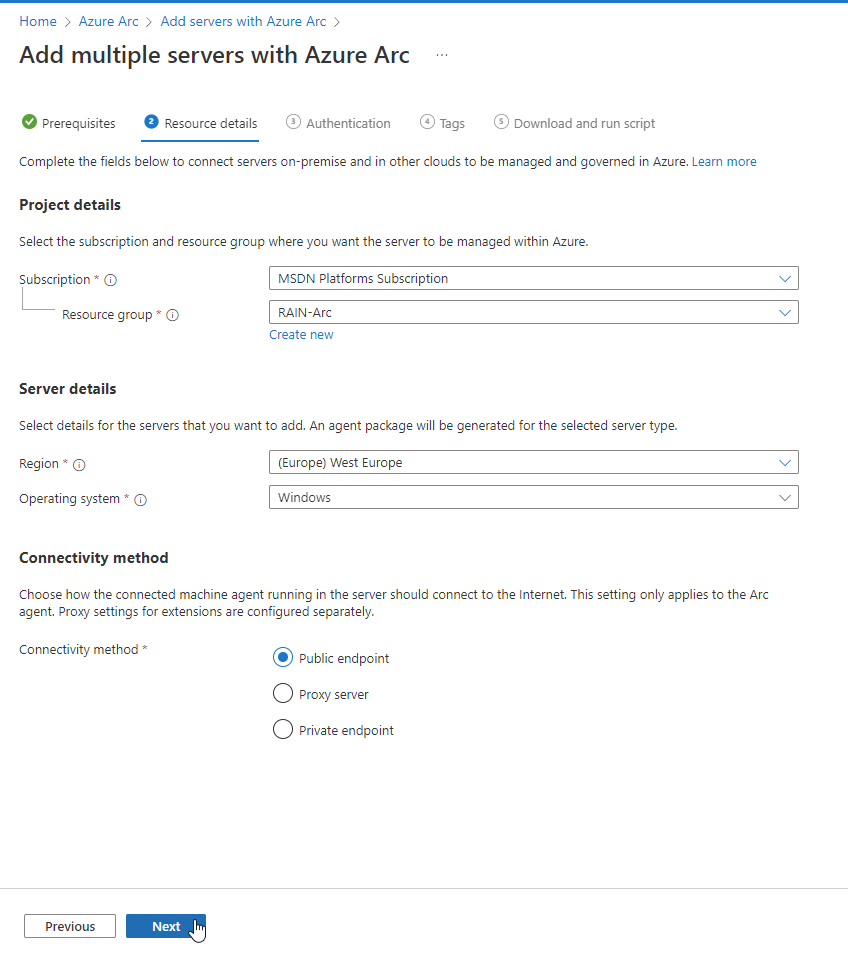
Select the Resource Group in which you want to put the created resources and the region and then click on “Next”:
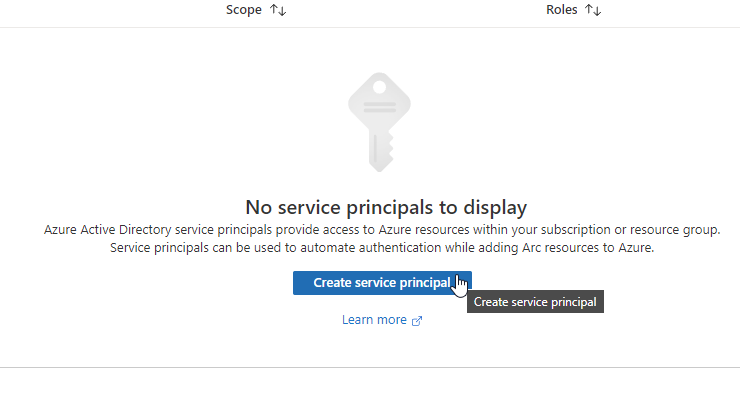
Now we need to create the service principal for the automated onboarding. Click on “Create or manage service principals with Azure Arc Related roles”:

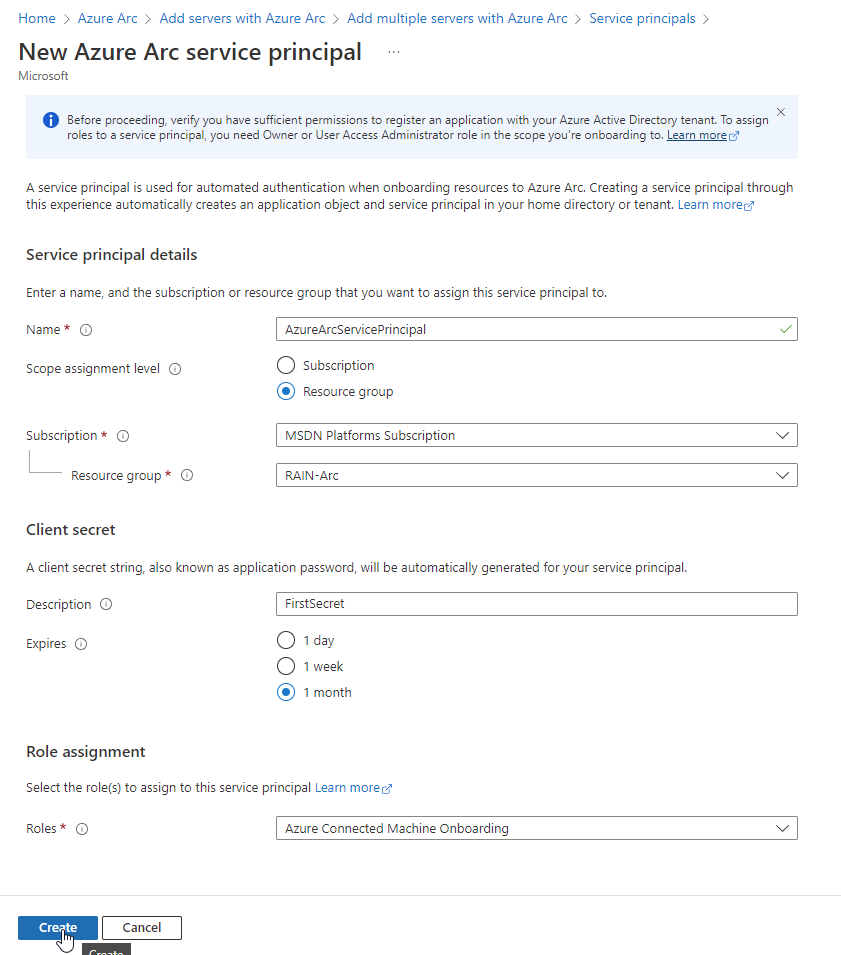
Fill in the Name, ResourceGroup, set Expires to 1 month and add the Azure Connected Machine Onboarding Role:
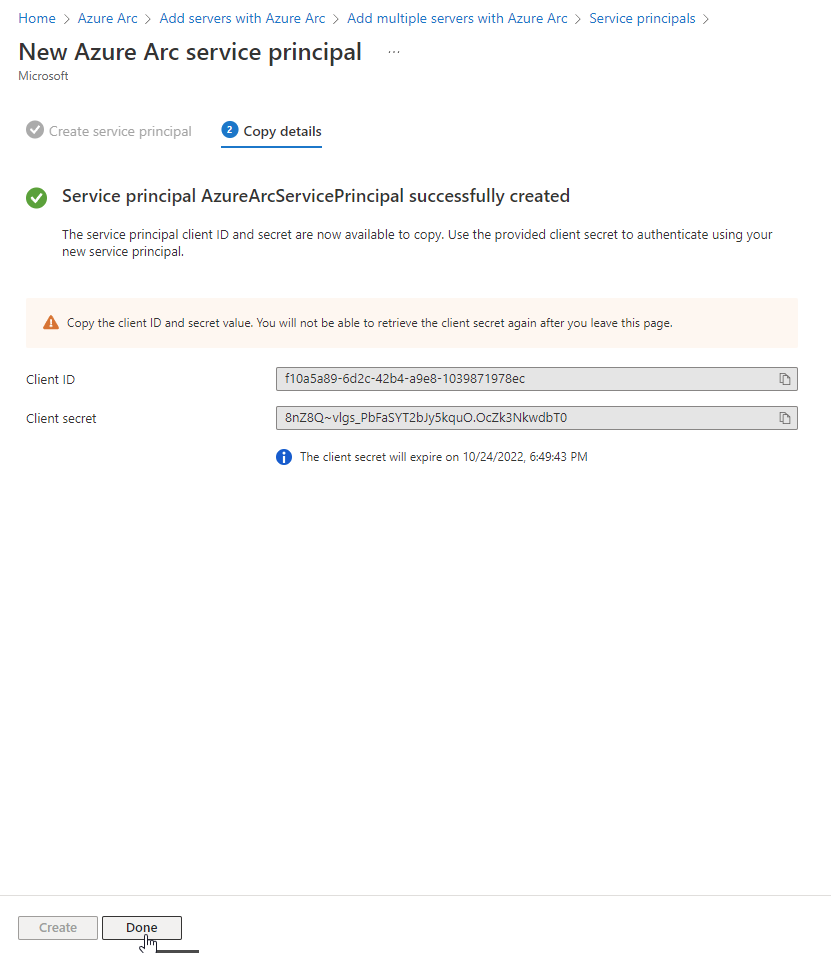
Copy the Client ID and the Client secret to a safe location then click on Done:
Return back to the deployment by clicking on “Add Multiple servers with Azure Arc” on top and then on Resource Detail before clicking again on next and now you can select the service principal:
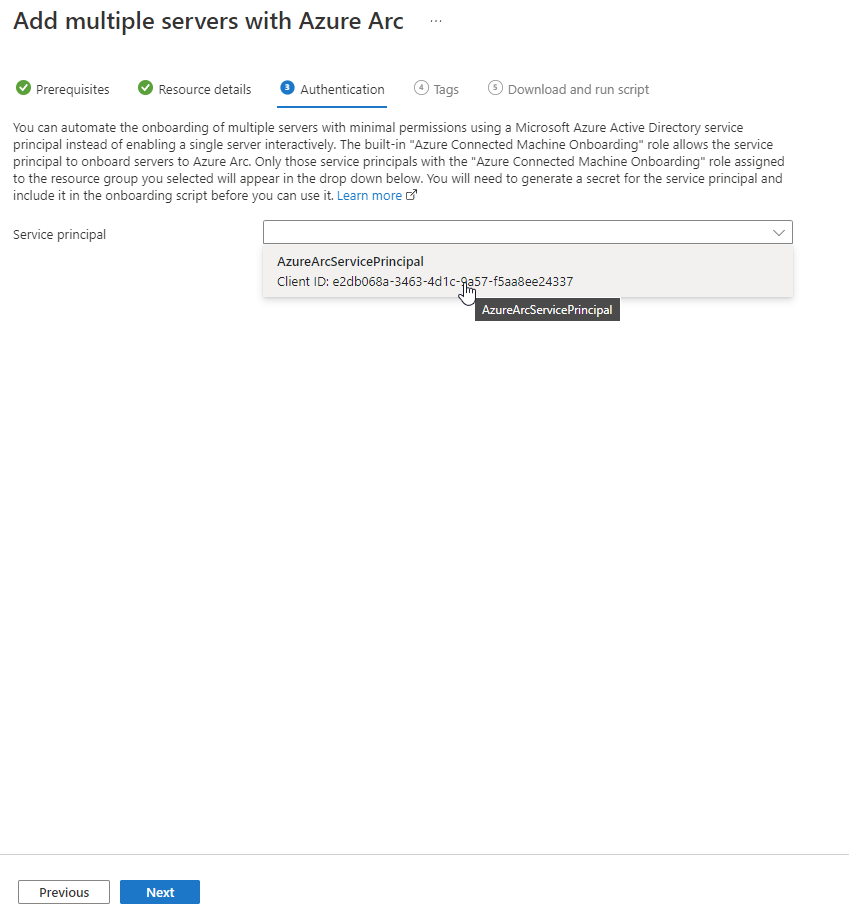
Click Next
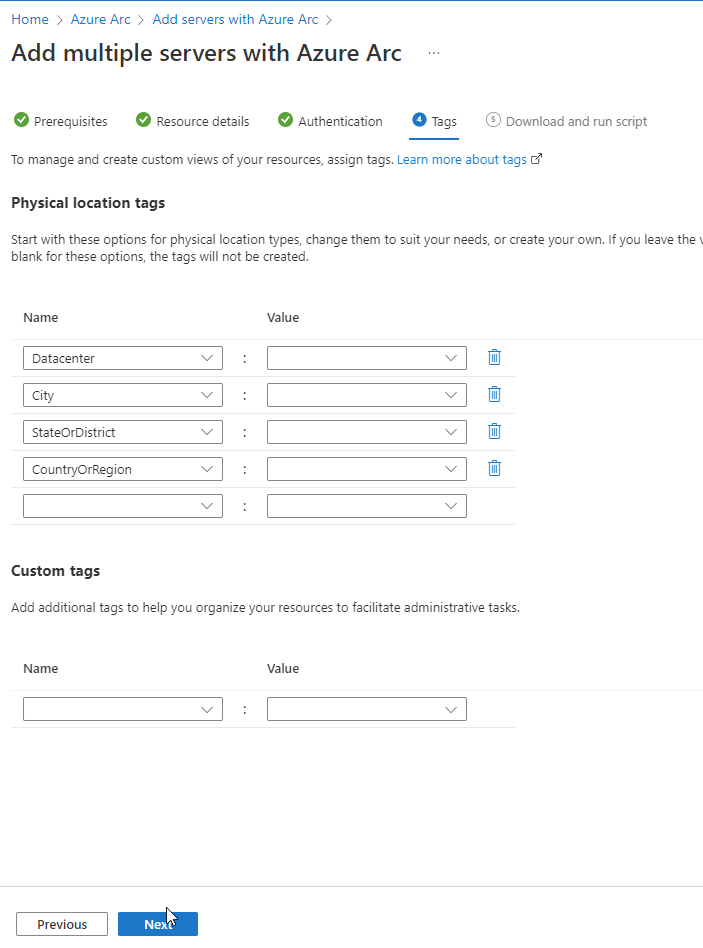
Select the tags if you need them and then click Next:
Now click on “Download”:
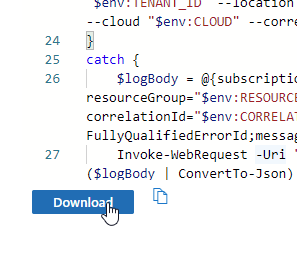
And open the script in VsCode to update the ClientID and Secret of the Service Principal:
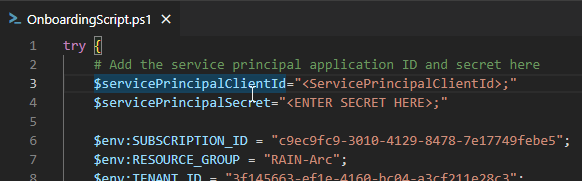
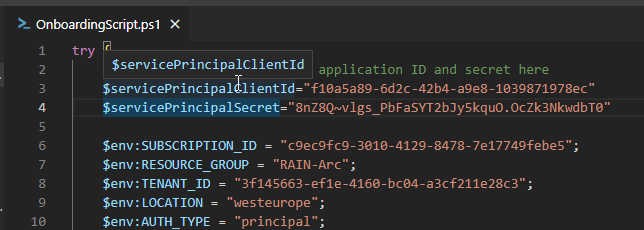
Replace $servicePrincipalClientId and $servicePrincipalSecret with the one you’ve copied from Azure and save the script:
Copy the script to the machine to enroll and run it:

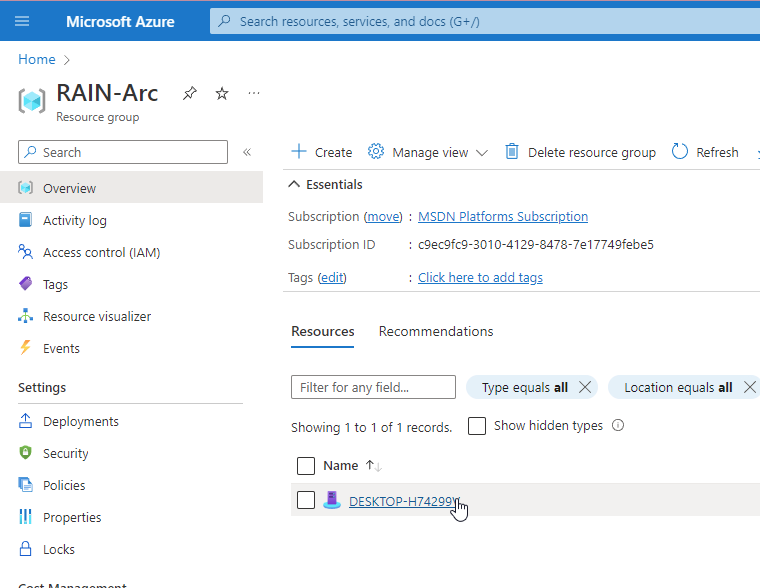
Now if you go to the Resource Group you’ve prepared you’ll see that the machine is there:
Now let’s take a look at the Key Vault configuration:
First thing to check is the Networking blade:
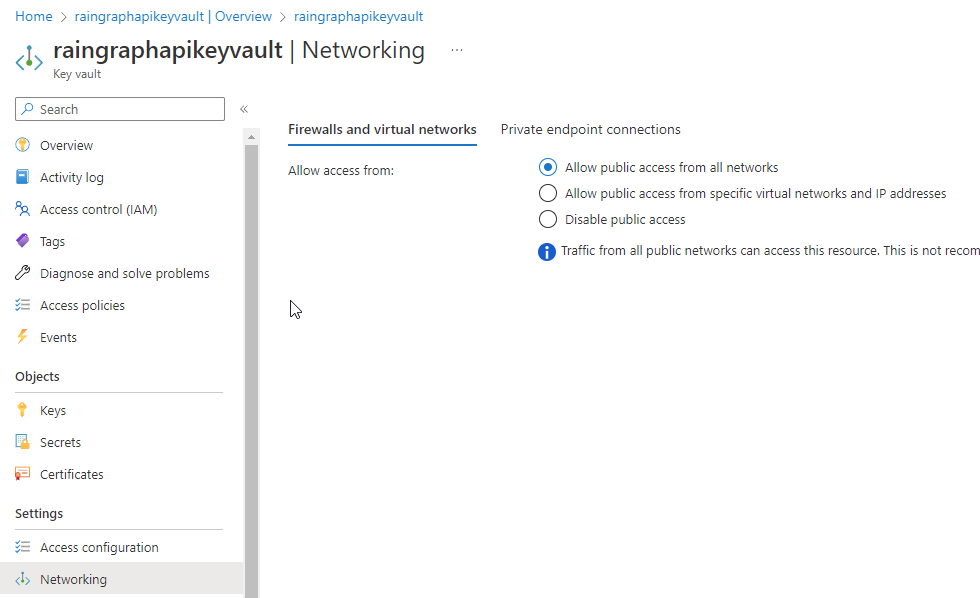
Here we’ll leave Public Access open since we’re in a test environment, but in Production you should either be using Private Endpoints or restricting the source IP addresses from which the connections come:
https://learn.microsoft.com/en-us/azure/key-vault/general/private-link-service?tabs=portal
Now go to Access policies:
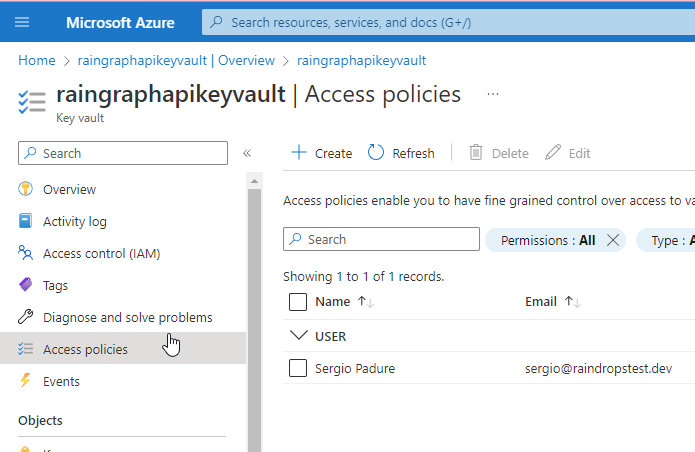
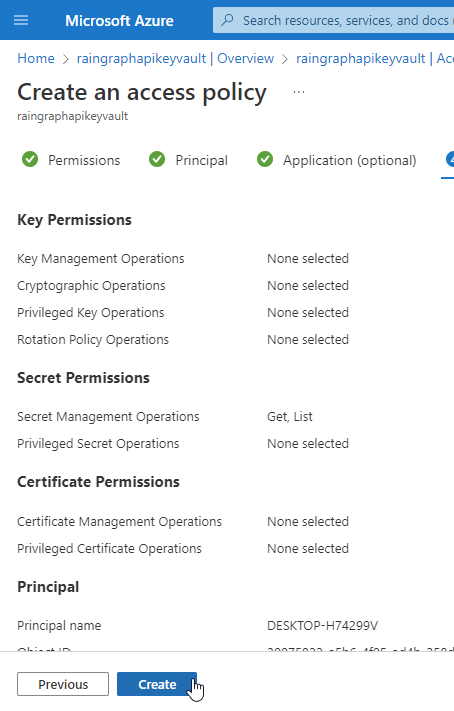
Click on “Create” then select the required permissions (here we’re selecting Secret Get and List for the Graph API Application Secret) and click “Next”:
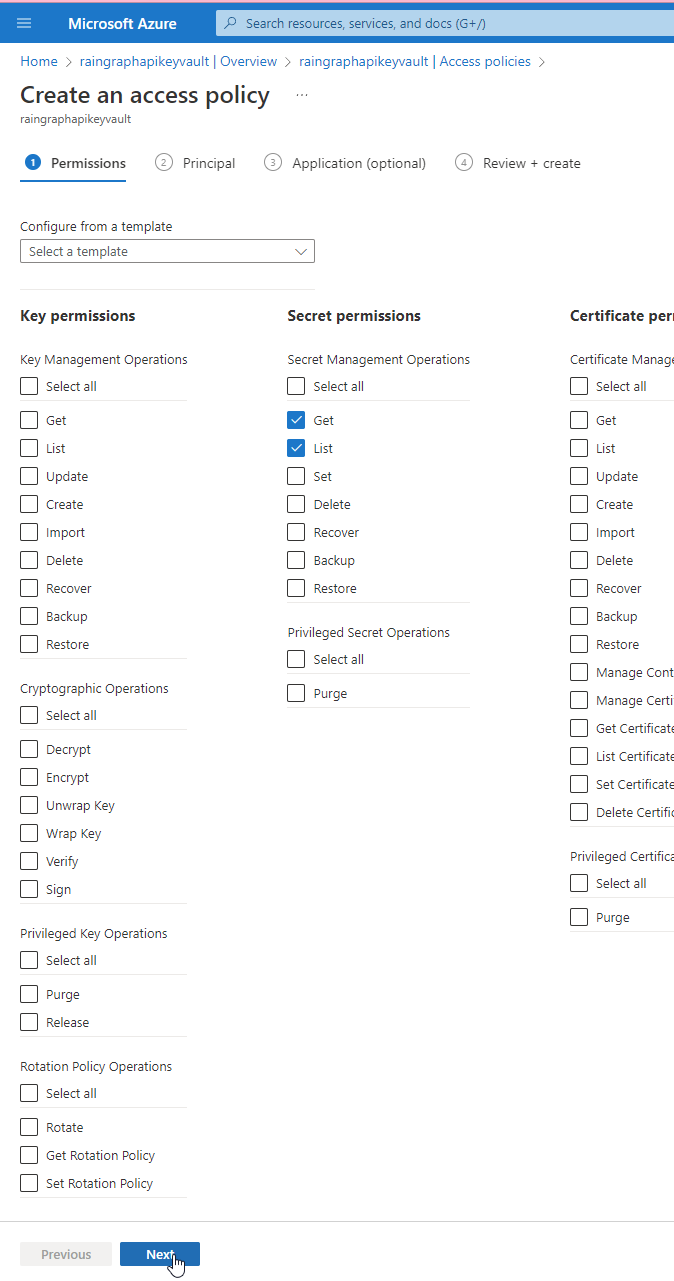
Search and select the previously enrolled machine and click Next:

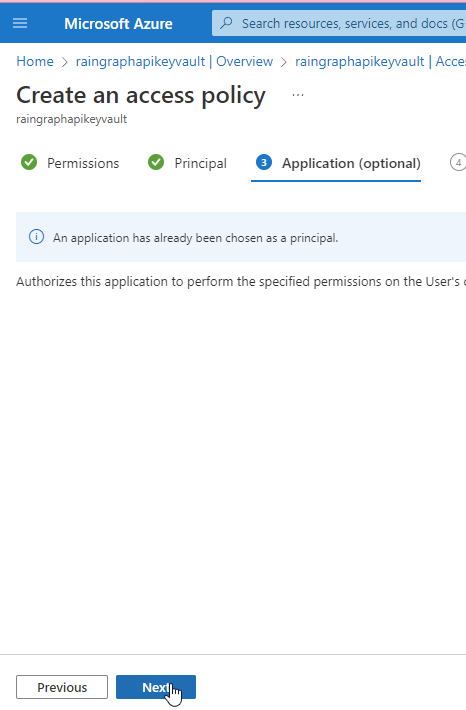
Next again and then Create:
And now we’re ready to test!
First things first, ensure that your machine has Azure Powershell installed, and if not install it:
https://learn.microsoft.com/en-us/powershell/azure/install-az-ps?view=azps-8.3.0
Test that the Managed Identity is correctly identified:
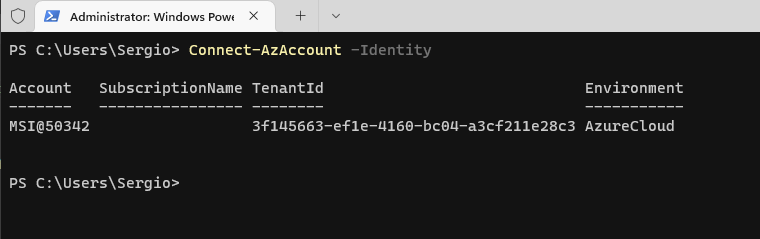
And now call the following command (replacing the variables with your own values) to get the secret from the Key Vault:
Get-AzKeyVaultSecret -VaultName $KeyVaultName -Name $KeyVaultSecretName -AsPlainText

And here we go! Now you can integrate secret from an Azure Keyvault in your scripts running onpremise!